
How to set parental controls on Apple HomePod
You will need an Apple account and access to the HomePod device.
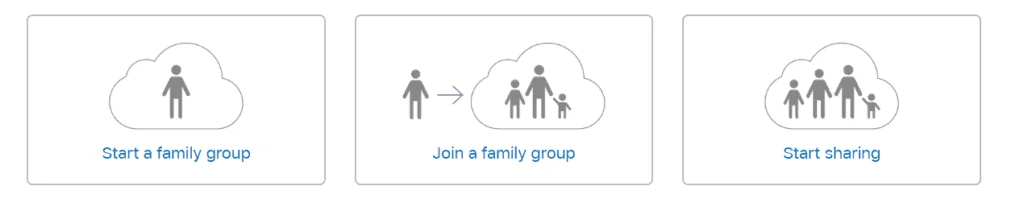
Get started
If you need to create an Apple ID for your child then add them to your family group. After you add them, they will have their own Apple ID that they can use on any Apple device.
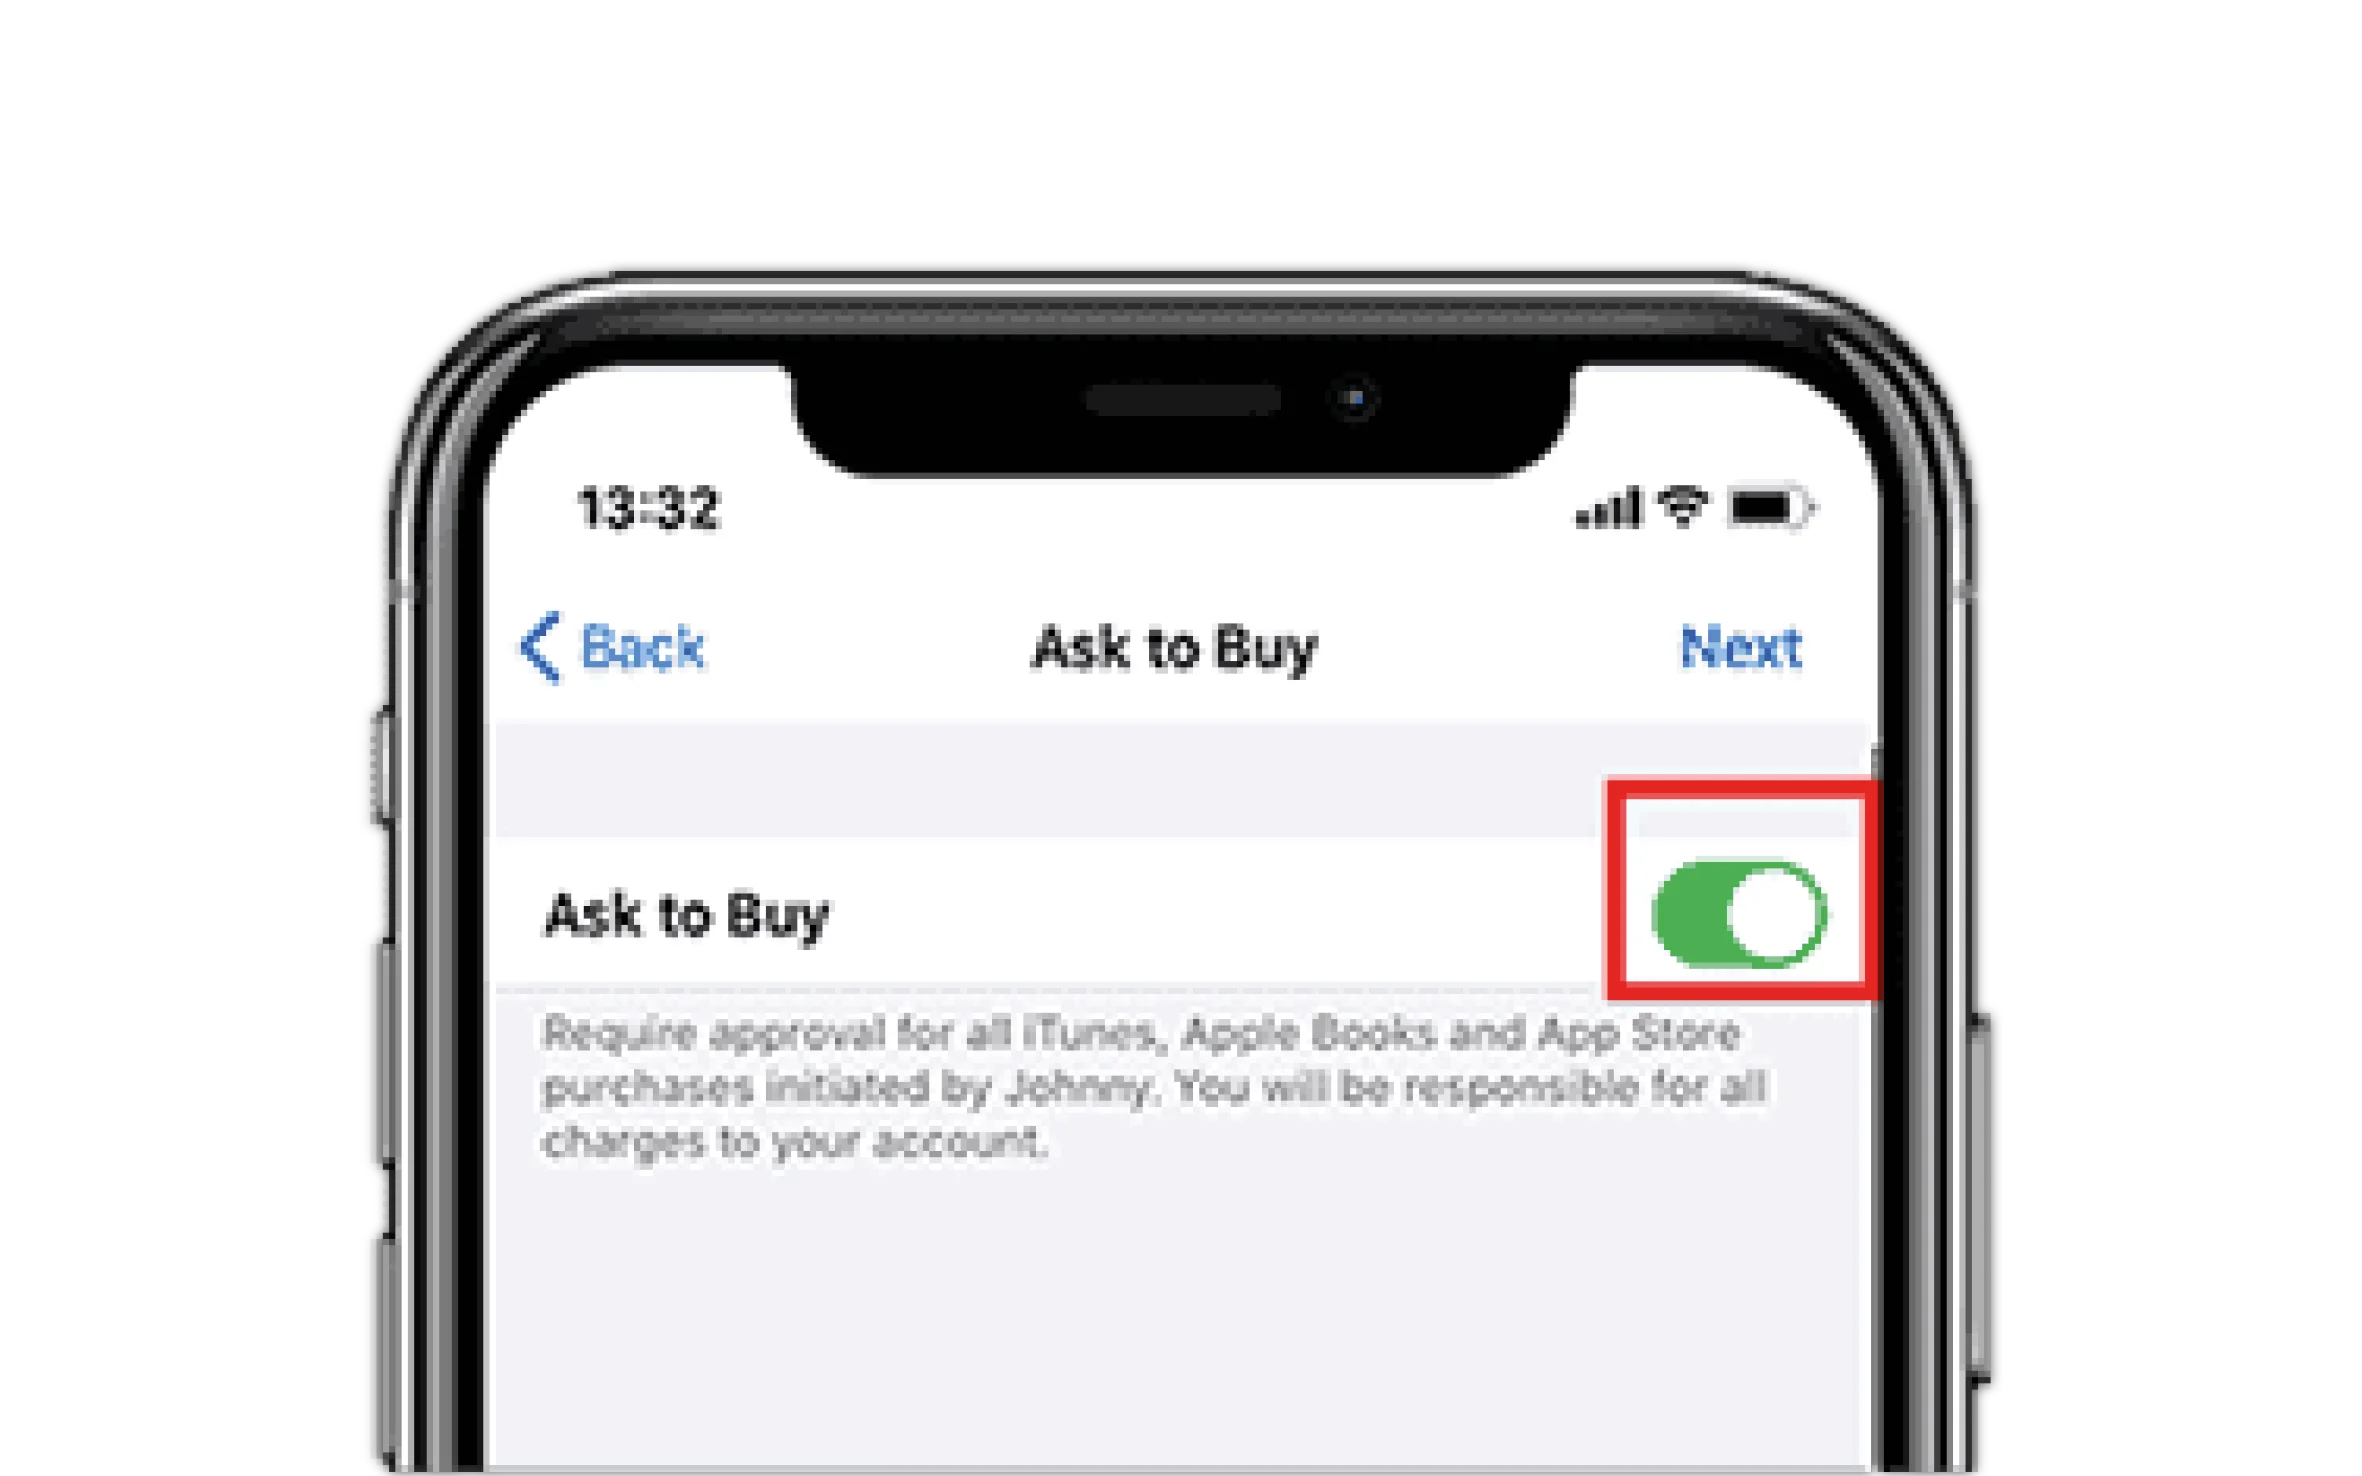
How to disable in-app purchases and downloads
Ask to Buy is enabled by default for children under 13.
On your iPhone, iPad, or iPod touch:
Step 1 – Go to Settings > [your name] > Family Sharing, and tap the child’s name.
Step 2 – Toggle to the left to switch off.
Where to set up Family Sharing
On your iPhone, iPad, or iPod touch:
Step 1 – Go to Settings > [your name]. If you’re using iOS 10.2 or earlier, go to Settings > iCloud. Tap ‘Get Up Family Sharing’, then tap ‘Get Started’.

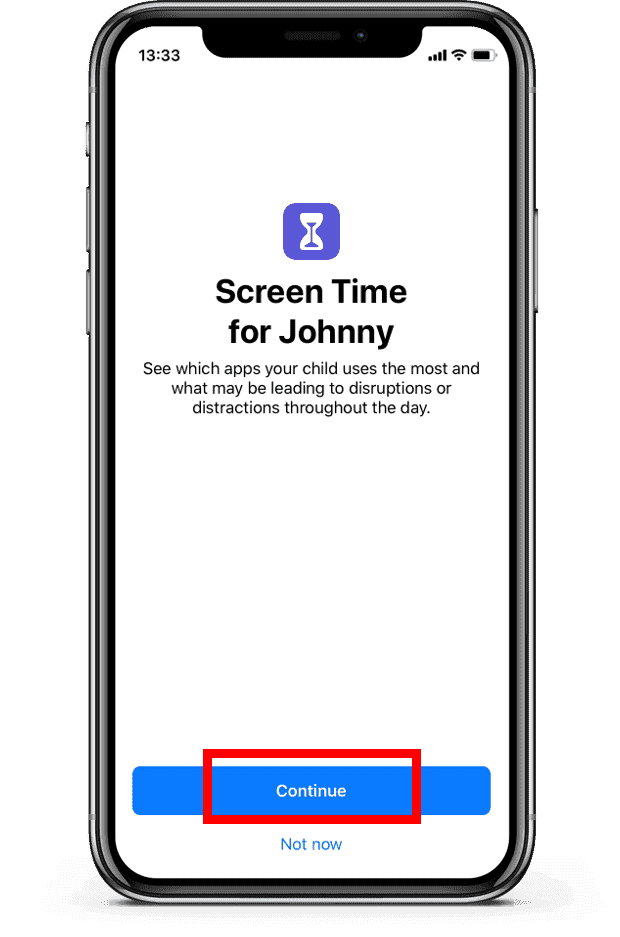
Set up Screen Time for your child
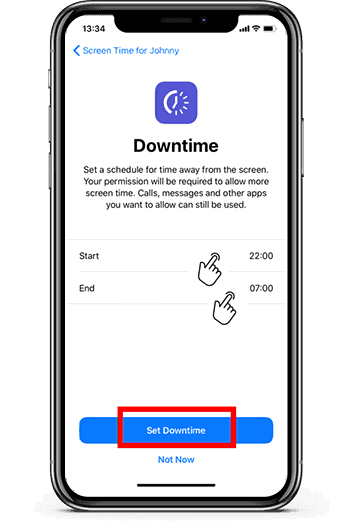
Tap ‘continue’ to set up screen time then set a schedule then tap Set Downtime.
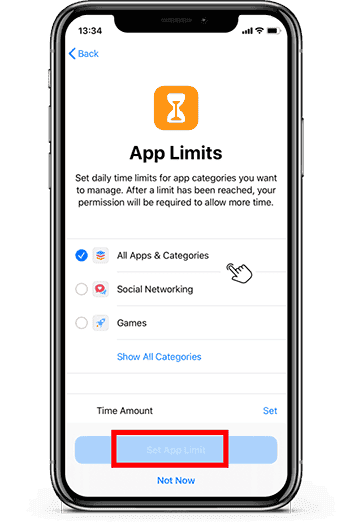
How to set up App Limits
You can set daily time limits for the apps your child uses. Tap on the individual app categories then tap ‘Set App Limit’.
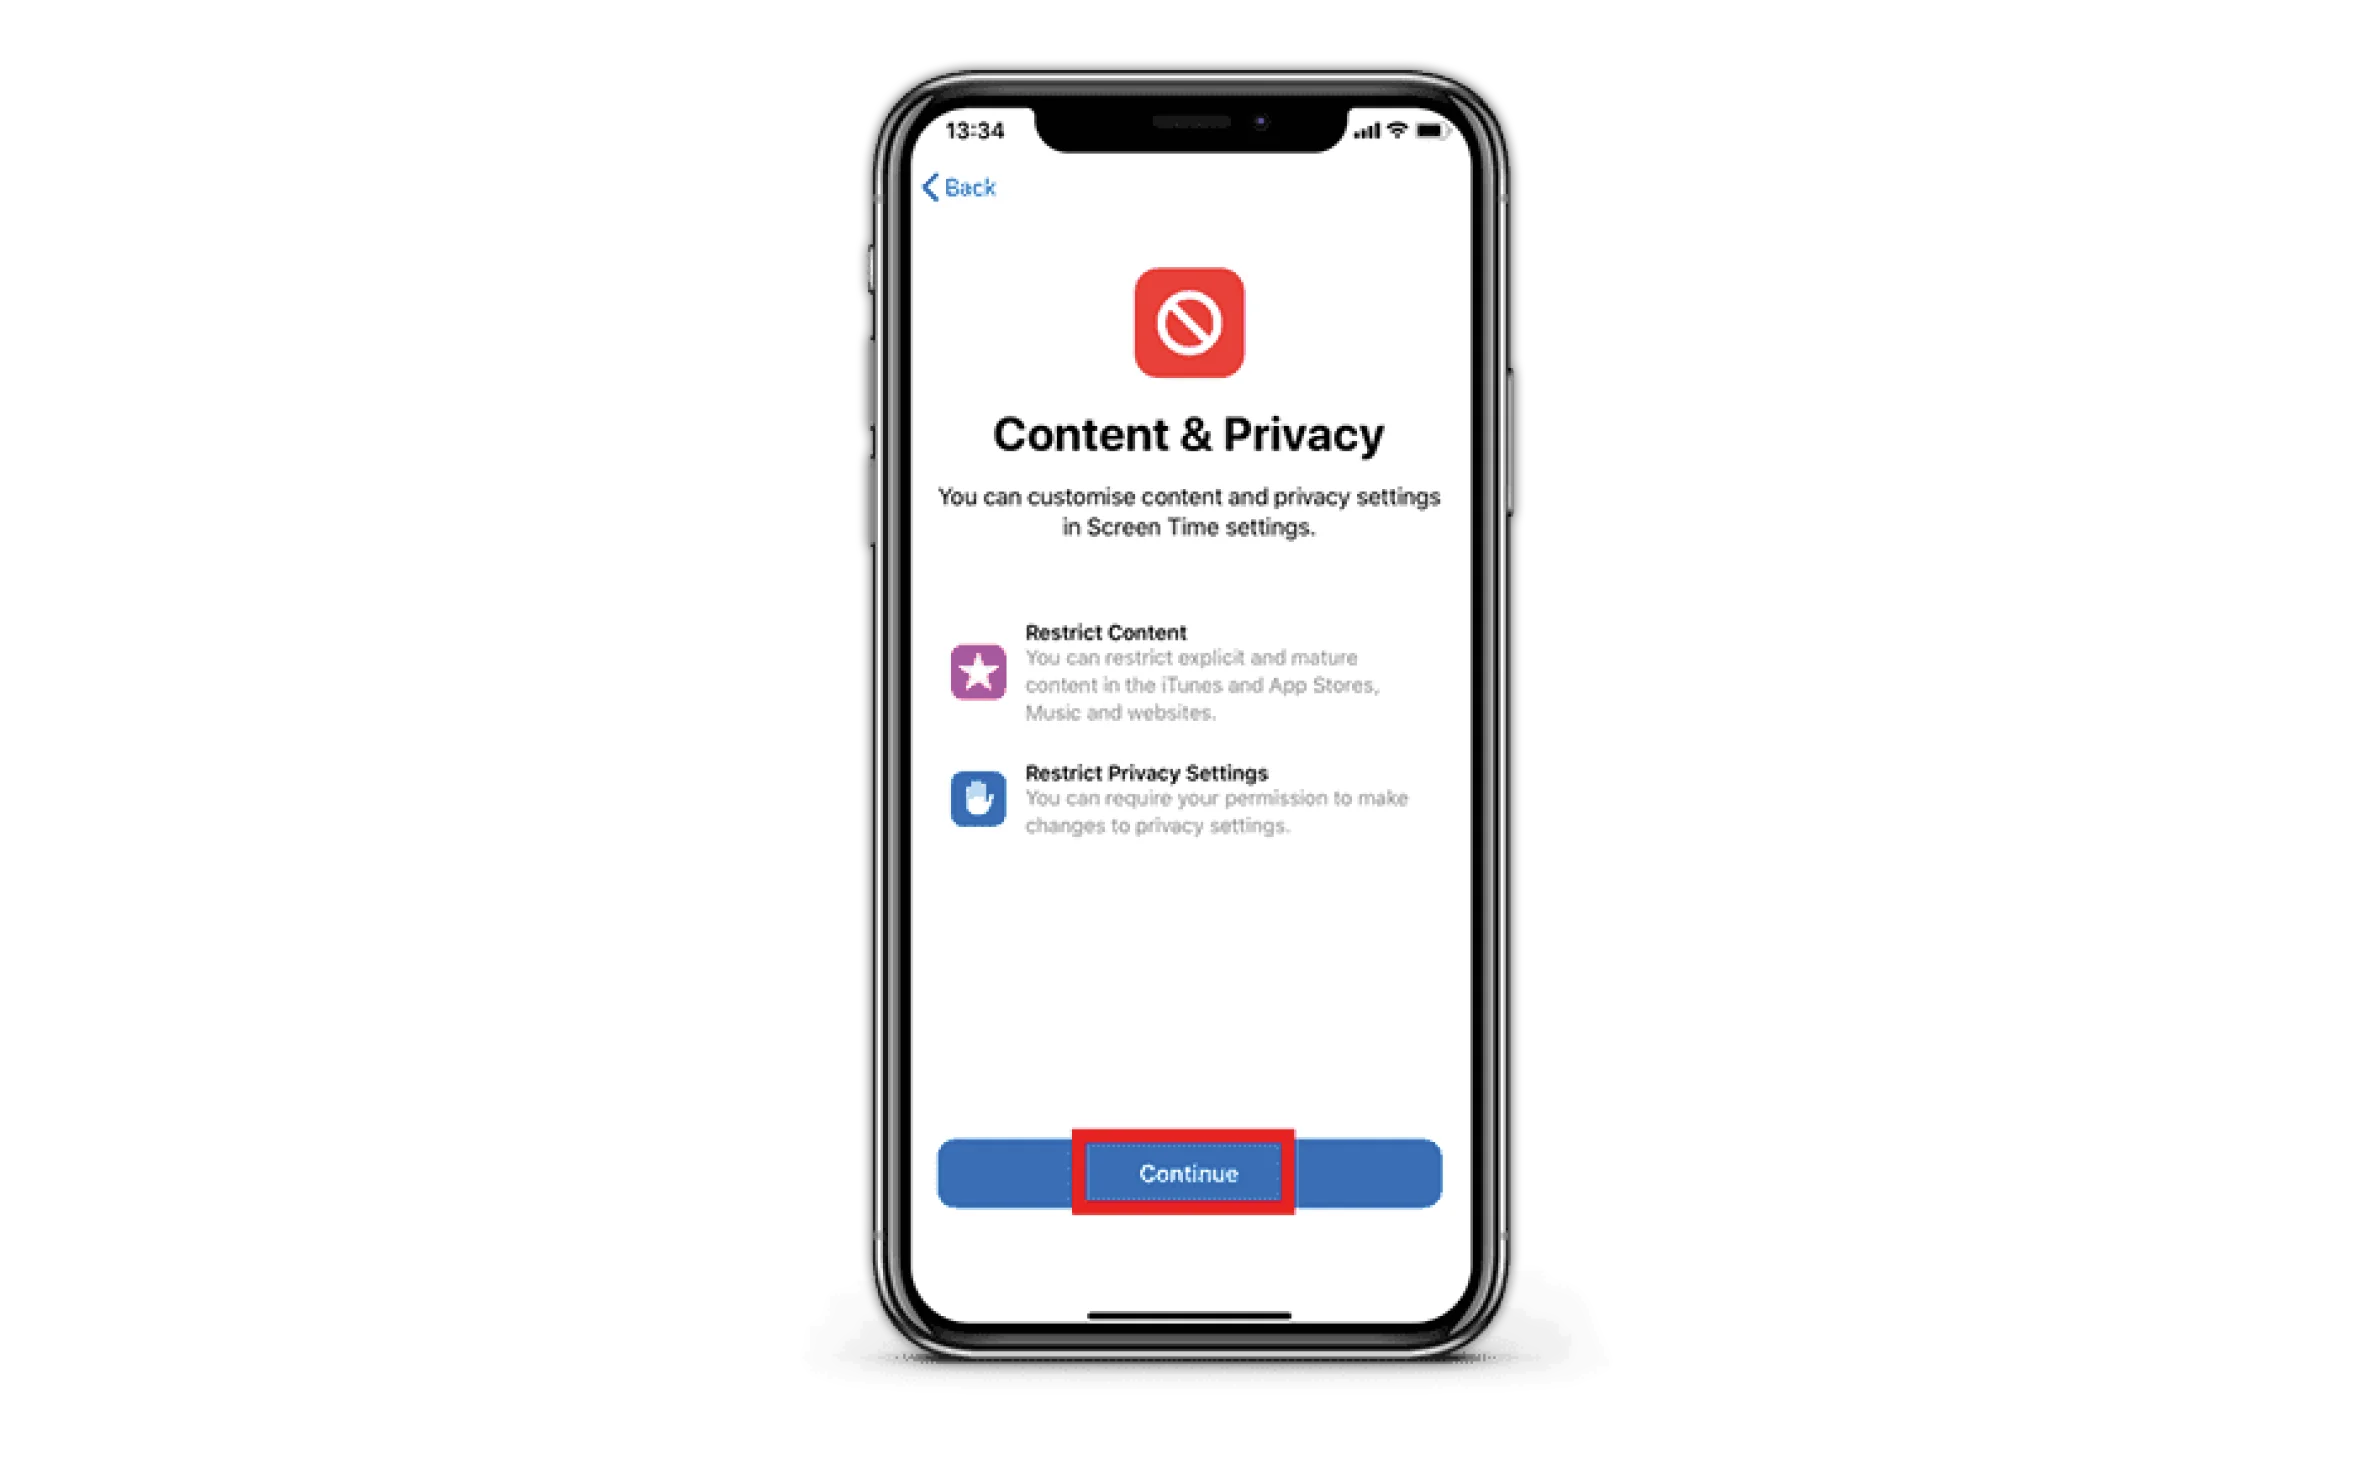
Privacy settings
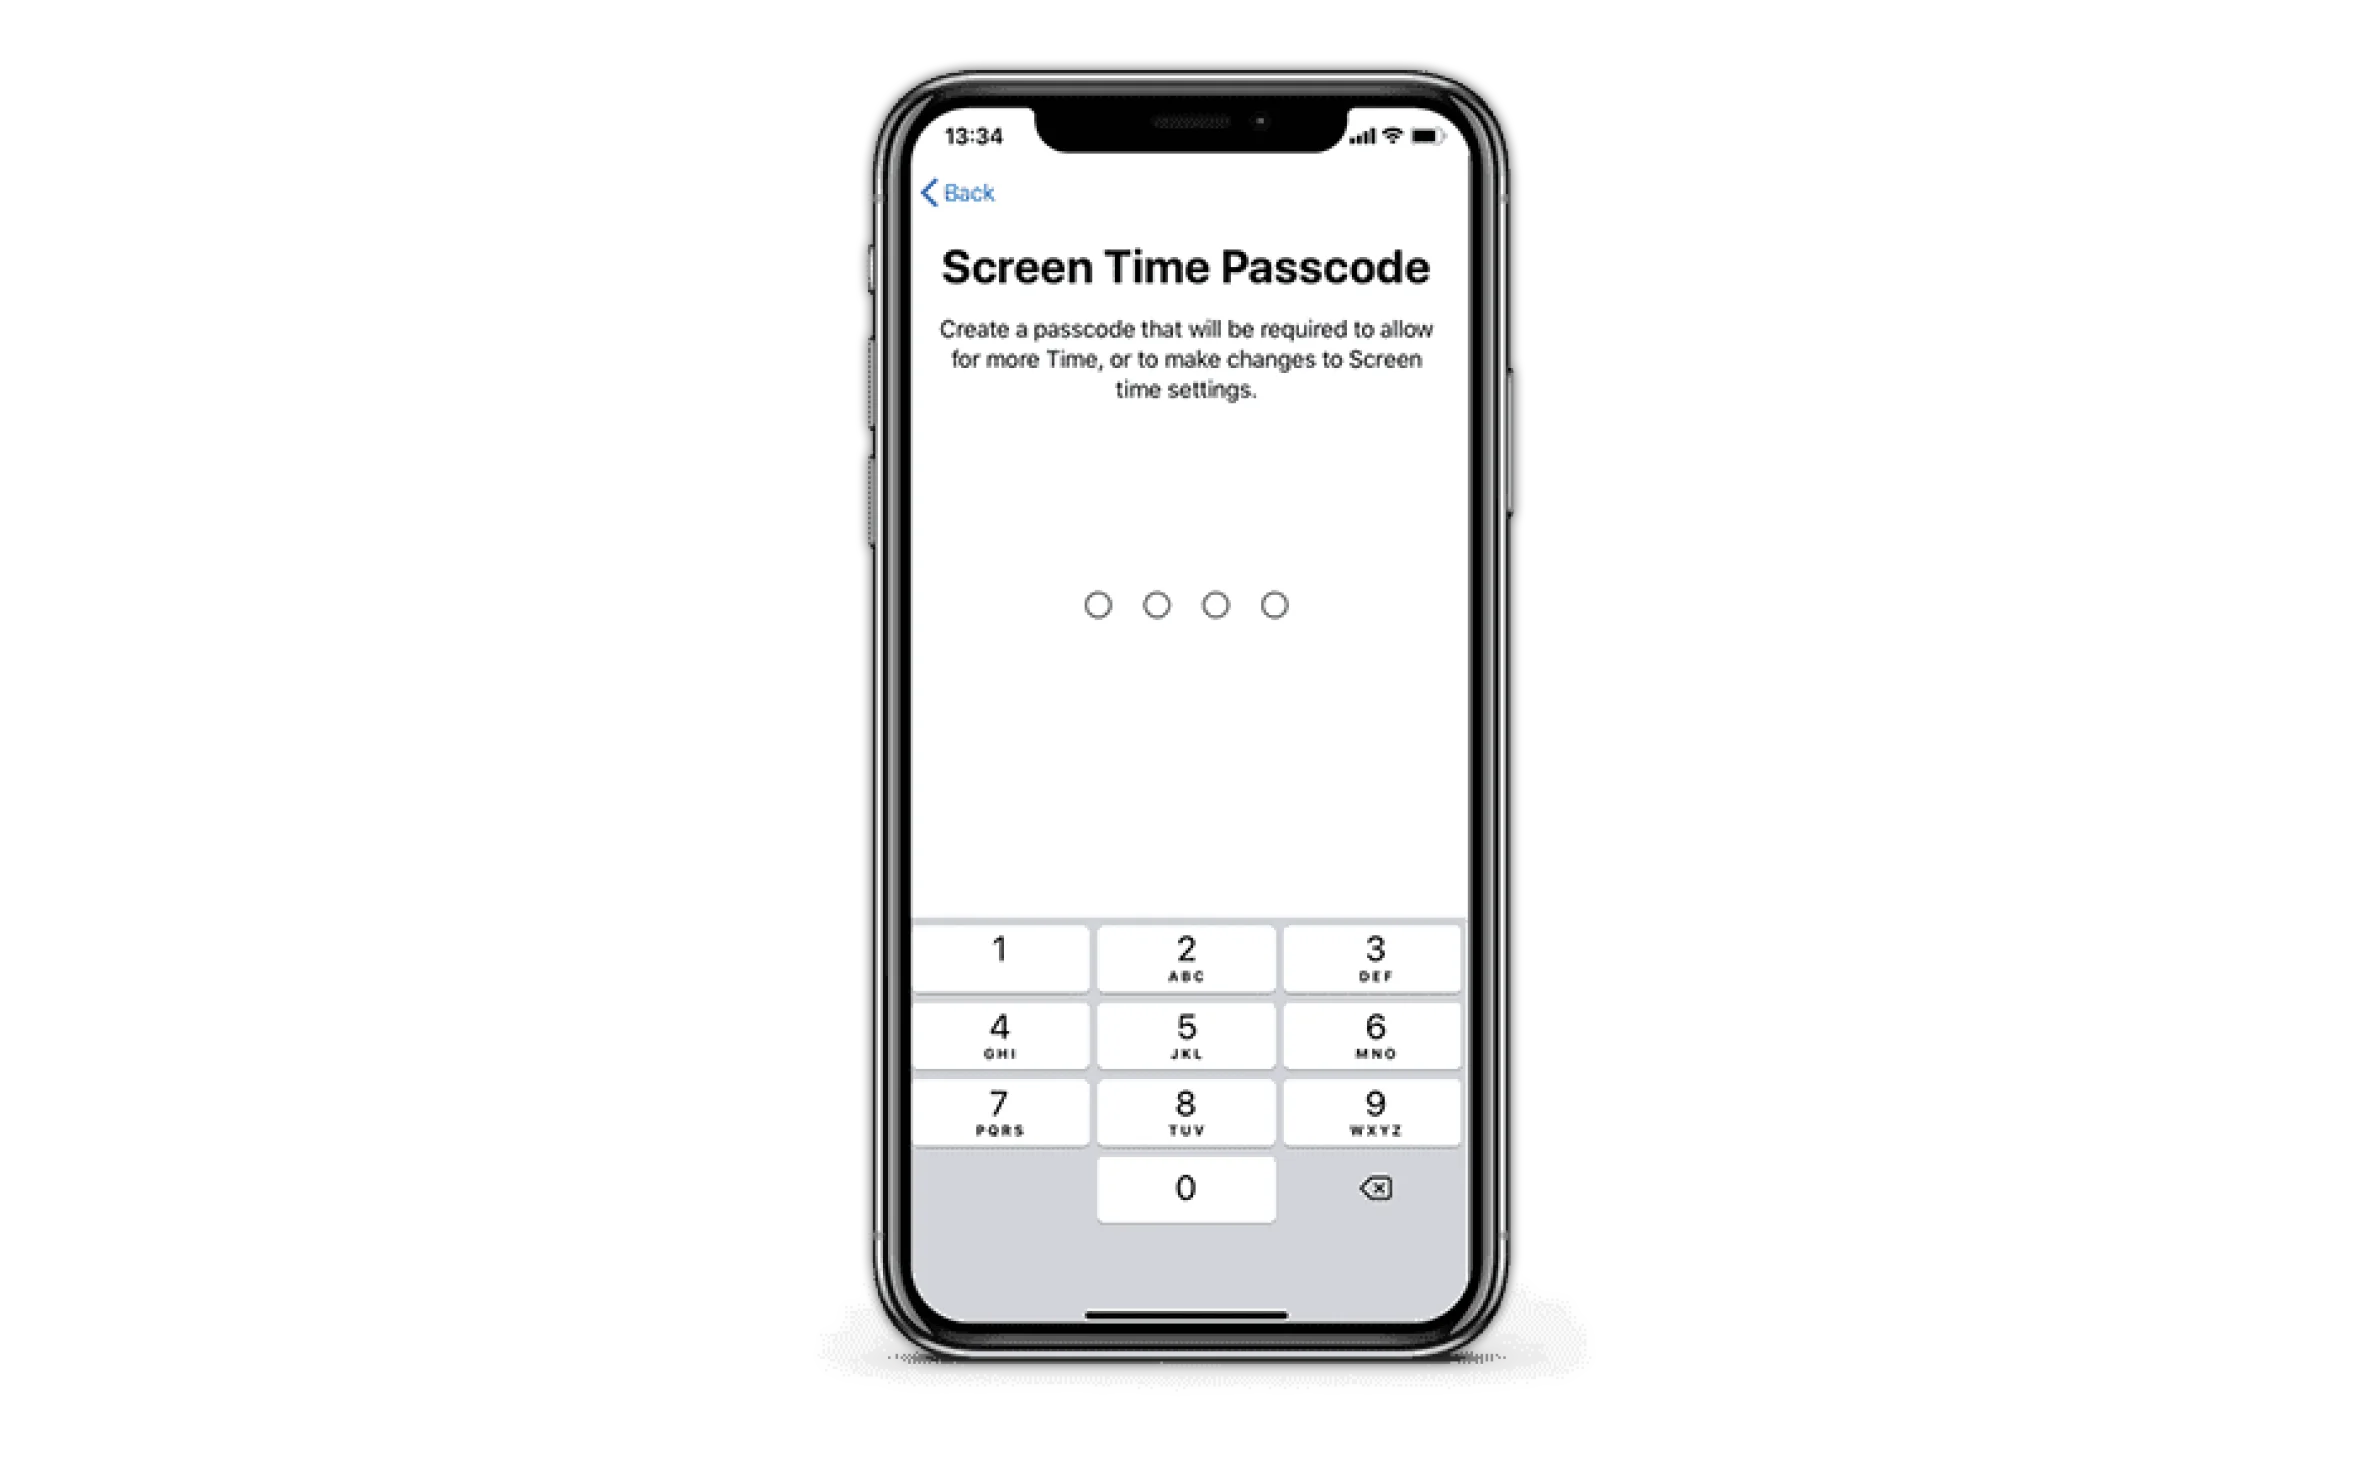
Step 1 – Tap ‘Continue’ then create a passcode.
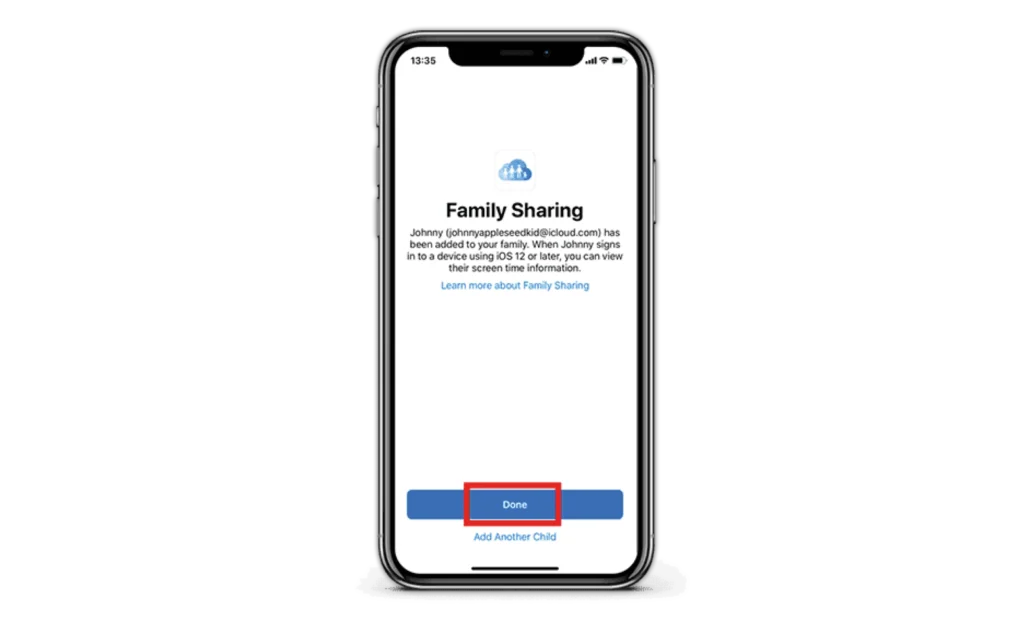
Step 2 – Now tap ‘Done’ to finish the Family Sharing set up!
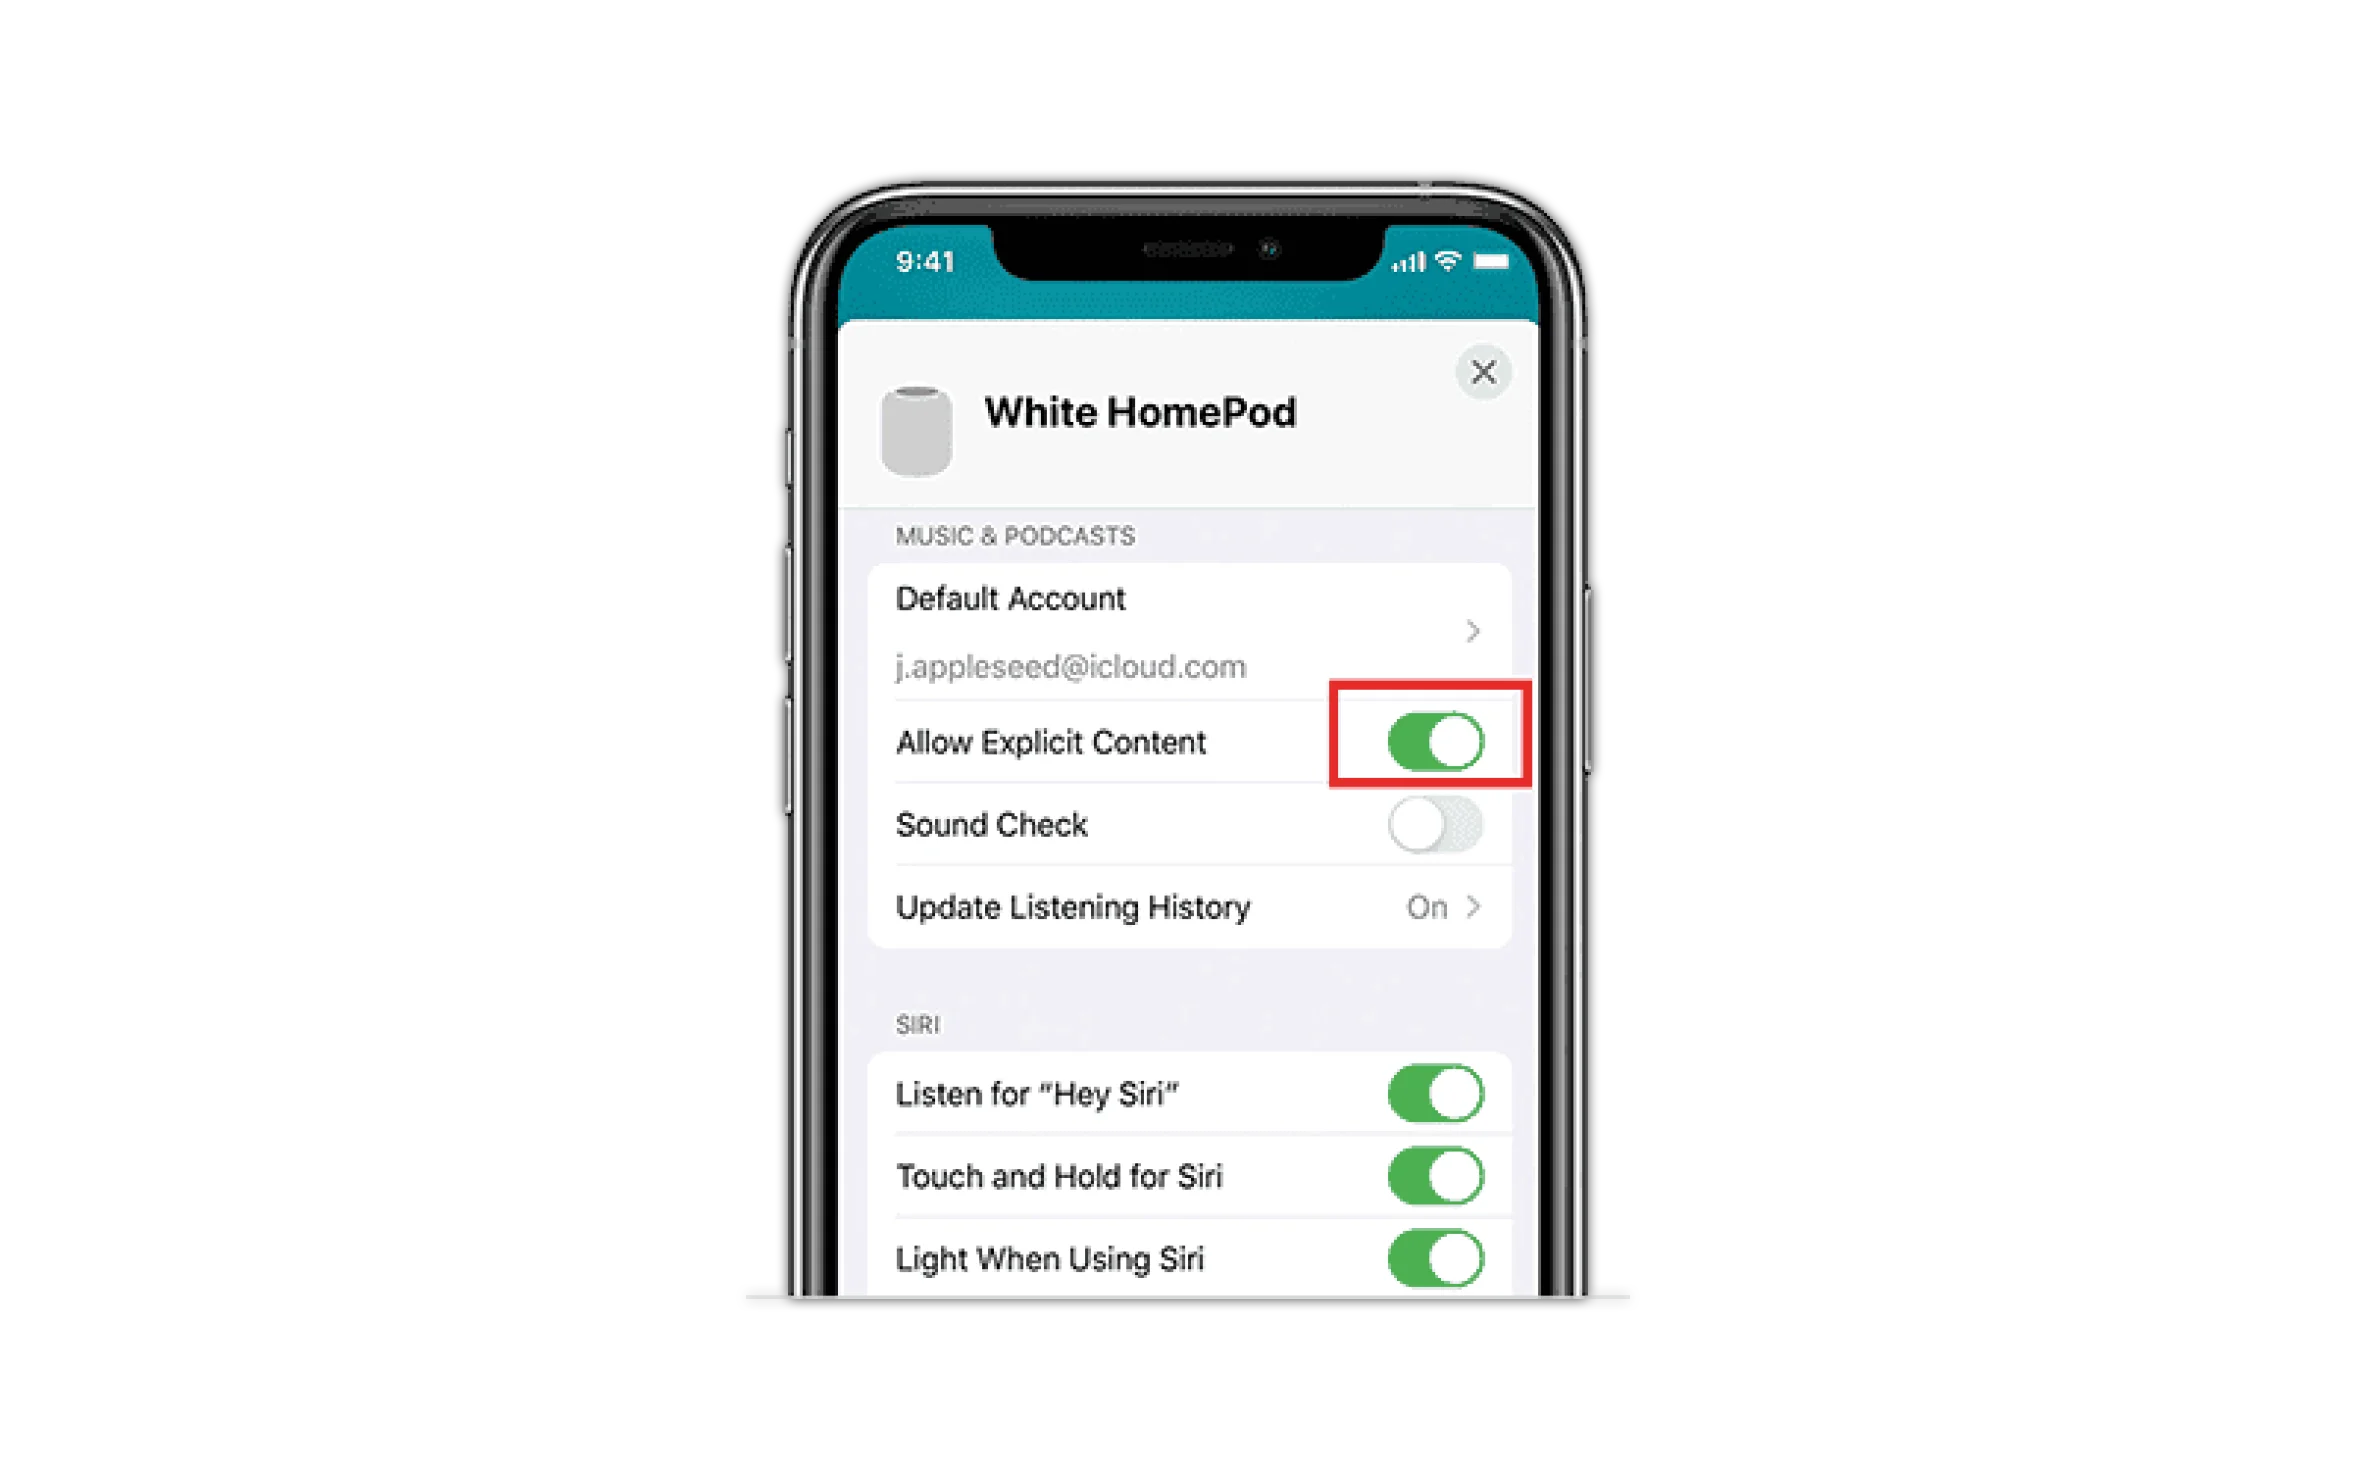
Disable Explicit Content
You can stop your child from accessing explicit content. Access the HomePod device from your device and tap on it. In the Music & Podcasts section, slide the ‘Allow Explicit Content’ to the left.
How to set parental controls on Apple HomePod
View more guides
Discover more parental controls to manage children’s devices, apps and platforms for safer online experiences.